

Firstly - Mum, if you are reading this stop now!
.
.
.
.
.
.
.
.
.
Is she gone?
Right. Well, basically money is a little tight this year, perhaps the tightest it has ever been in my experience! But that's okay - I am informed regularly that it is character building! Plus, in addition to the huge amount of character I have developed, my creative muscles are being forcibly flexed in order to provide Christmas gifts to those I love. Every Tuesday afternoon my friend Becky and I sit together over endless cups of tea and manufacture our gifts.
I thought it might be nice to share some of our little projects; I will happily confess that none of these are ground breaking works of art, each can be completed in an afternoon or even within a couple hours, but by the end there will (hopefully) be a glorious hamper full of little gifts!
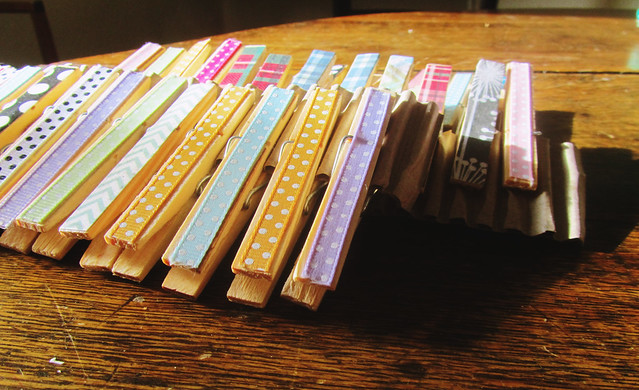
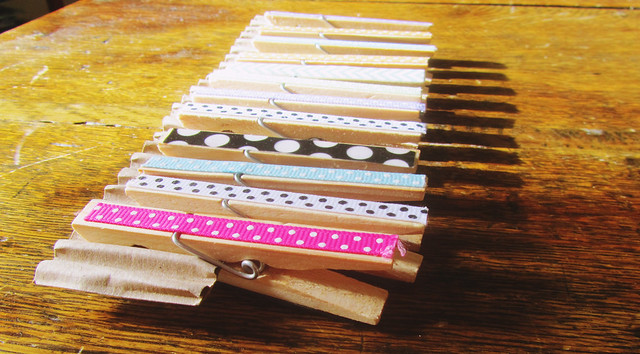
So, starting with the easiest project of the lot; these are our festive pegs, it seems ridiculous even sharing how to make these as they are so simple! Also, the pictures do not do these justice (blooming phone camera), these are just so lovely!
You will need:
- Wooden pegs (we bulk bought ours from eBay, I think they cost about £2 for 100)
- Modpodge glue or PVA
- Colourful ribbons or scrapbooking paper
- Magnet backing
- Superglue
- Ruler
- Scissors or a guillotine, a steady hand and a pot of tea.
1. It is easiest to cut all the scrapbooking paper to size first; measure the width of the peg and then mark out the lines on the scrapbooking paper so you can cut it all up at once. Although not necessary, it was easier to cut the scrapbooking paper a milimeter or two narrower than the width of the peg as it made it easier to line up and avoided any overhang. If you are using ribbons make sure they are skinner than the peg; I have found no nice way of cutting ribbons evenly.
2. Using a paint brush, put a thin layer of modpodge/PVA on the top of each peg and then carefully place the paper/ribbon on top. We used another layer of modpodge on top to seal it in; glittery modpodge looks especially festive!
3. Drink tea and wait for the pegs to dry.
4. Cut the magnet backing to size and stick to the back of the peg. I used magnet sheets (like this but I can't actually remember where I bought it from!) which are supposedly already sticky, but we found that lots of them came unstuck within a couple days, so consider using superglue to make sure that the magnet sticks properly.
5. Again, drink tea and wait for it to dry.
6. That's it! You have some seriously cute magnetic pegs for sticking to your fridge to hold Christmas cards in place!
These are so lovely!!!
ReplyDelete